Quick start with Kedro
This quick-start guide has 3 sections:
- Experience: A 10-minute guide from installing Kedro, creating a starter project to visualising the pipelines.
- Explain: An introduction to the 4 key concepts: project template, data catalog, node, and pipeline.
- Explore: Next steps, resources, and links to continue your Kedro journey.
Experience
Explain
Explore
This section we use the CLI to install Kedro, create a starter project, and visualise the pipelines.
Before you begin, make sure the following are installed:
Kedro requires Python 3.10+. To confirm this, open Terminal, enter python3 --version, it should return the installed Python version (e.g. Python 3.13.13).
If not, you can download Python from its official website.
In Terminal, enter git --version, it should return the installed Git version (e.g. git version 2.50.1).
If not, you can download Git from its official website.
uv, a very fast Python package and project manager, is used in this quick start. In Terminal, enter uv --version, it should return the installed uv version (e.g. uv 0.11.20).
If not, you can download uv from its official website.
Navigate to a folder where you want to download the Kedro starter project.
In Terminal, enter the following command. This creates a fully functioning Kedro project from a template without installing Kedro globally.
uvx kedro new --starter spaceflights-pandas --name spaceflights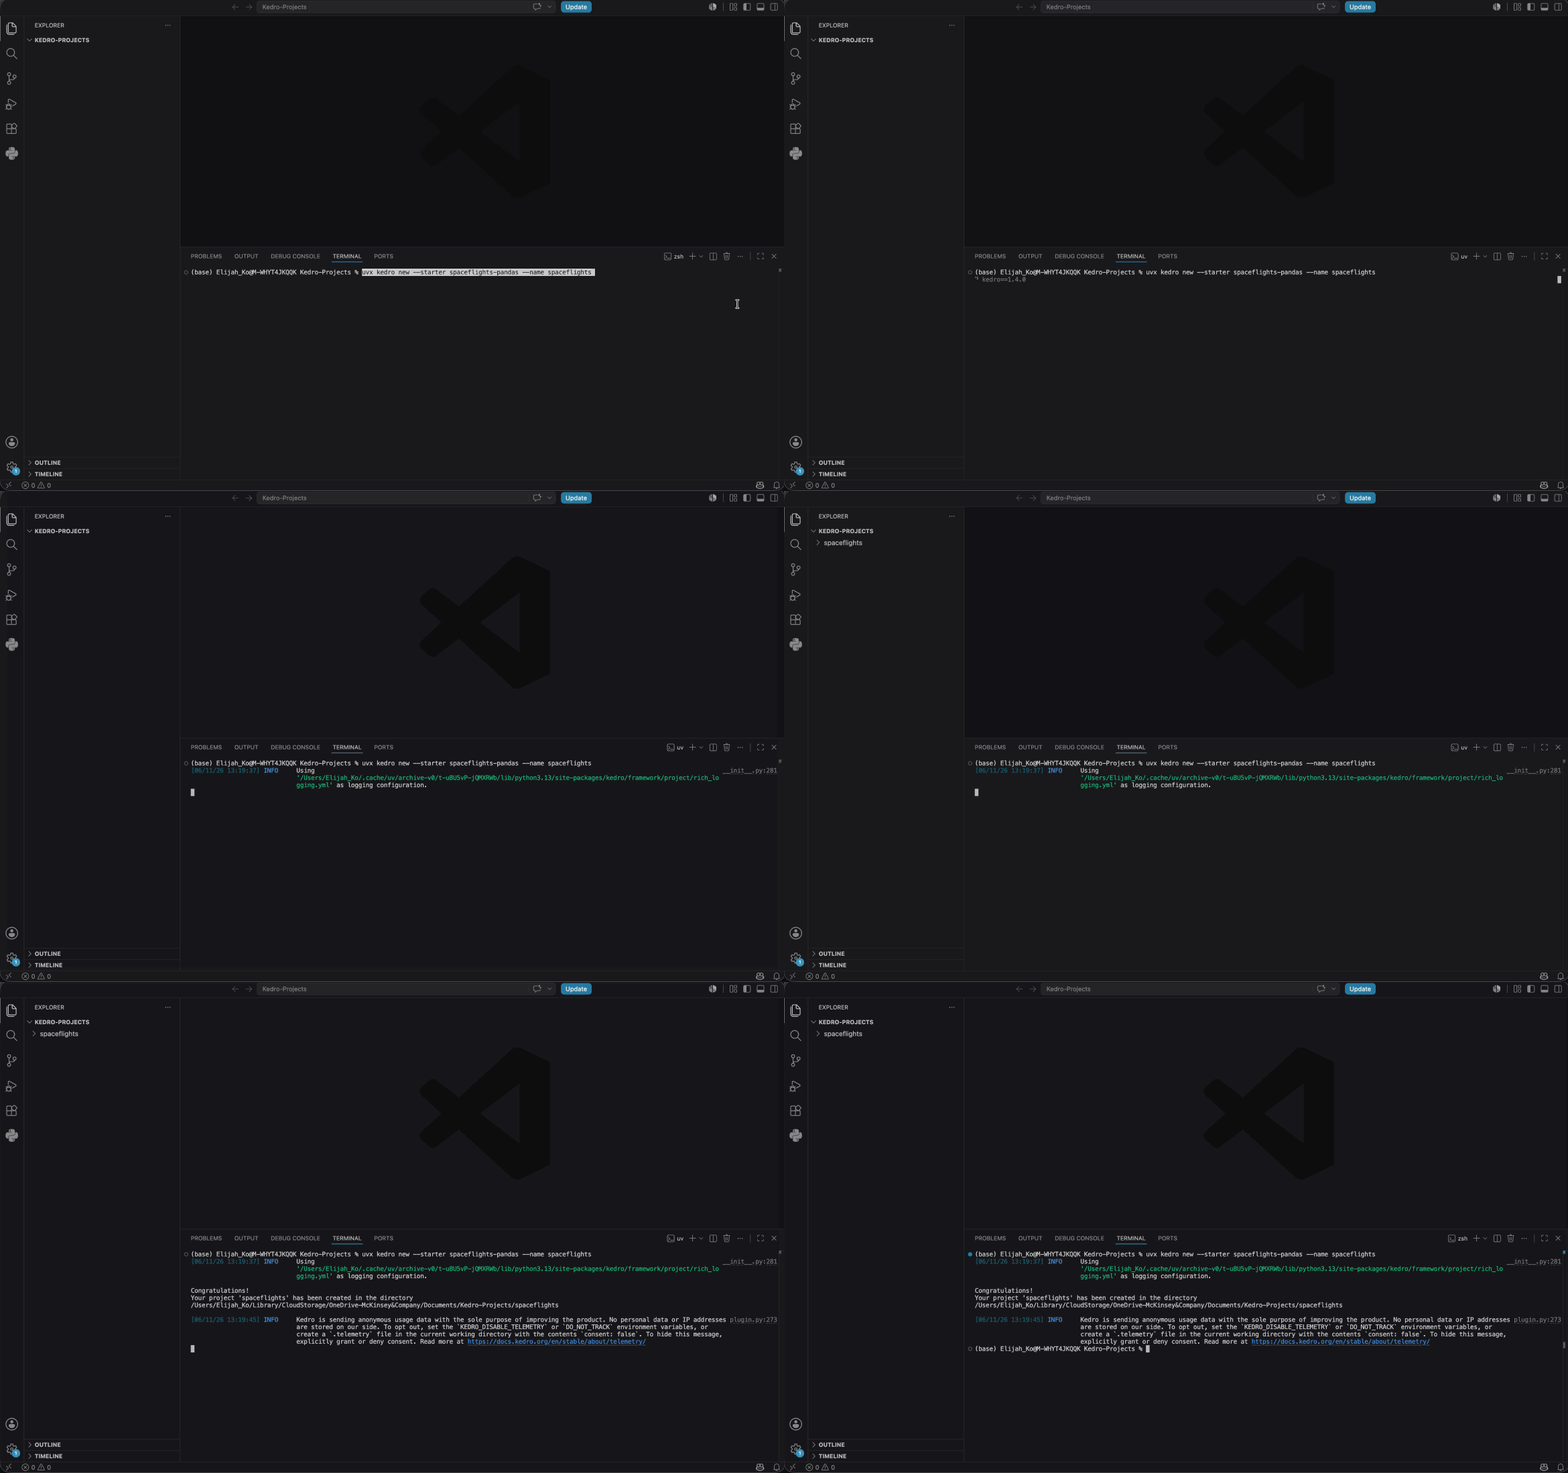
Navigate to the newly created folder with the contents of the project:
cd spaceflights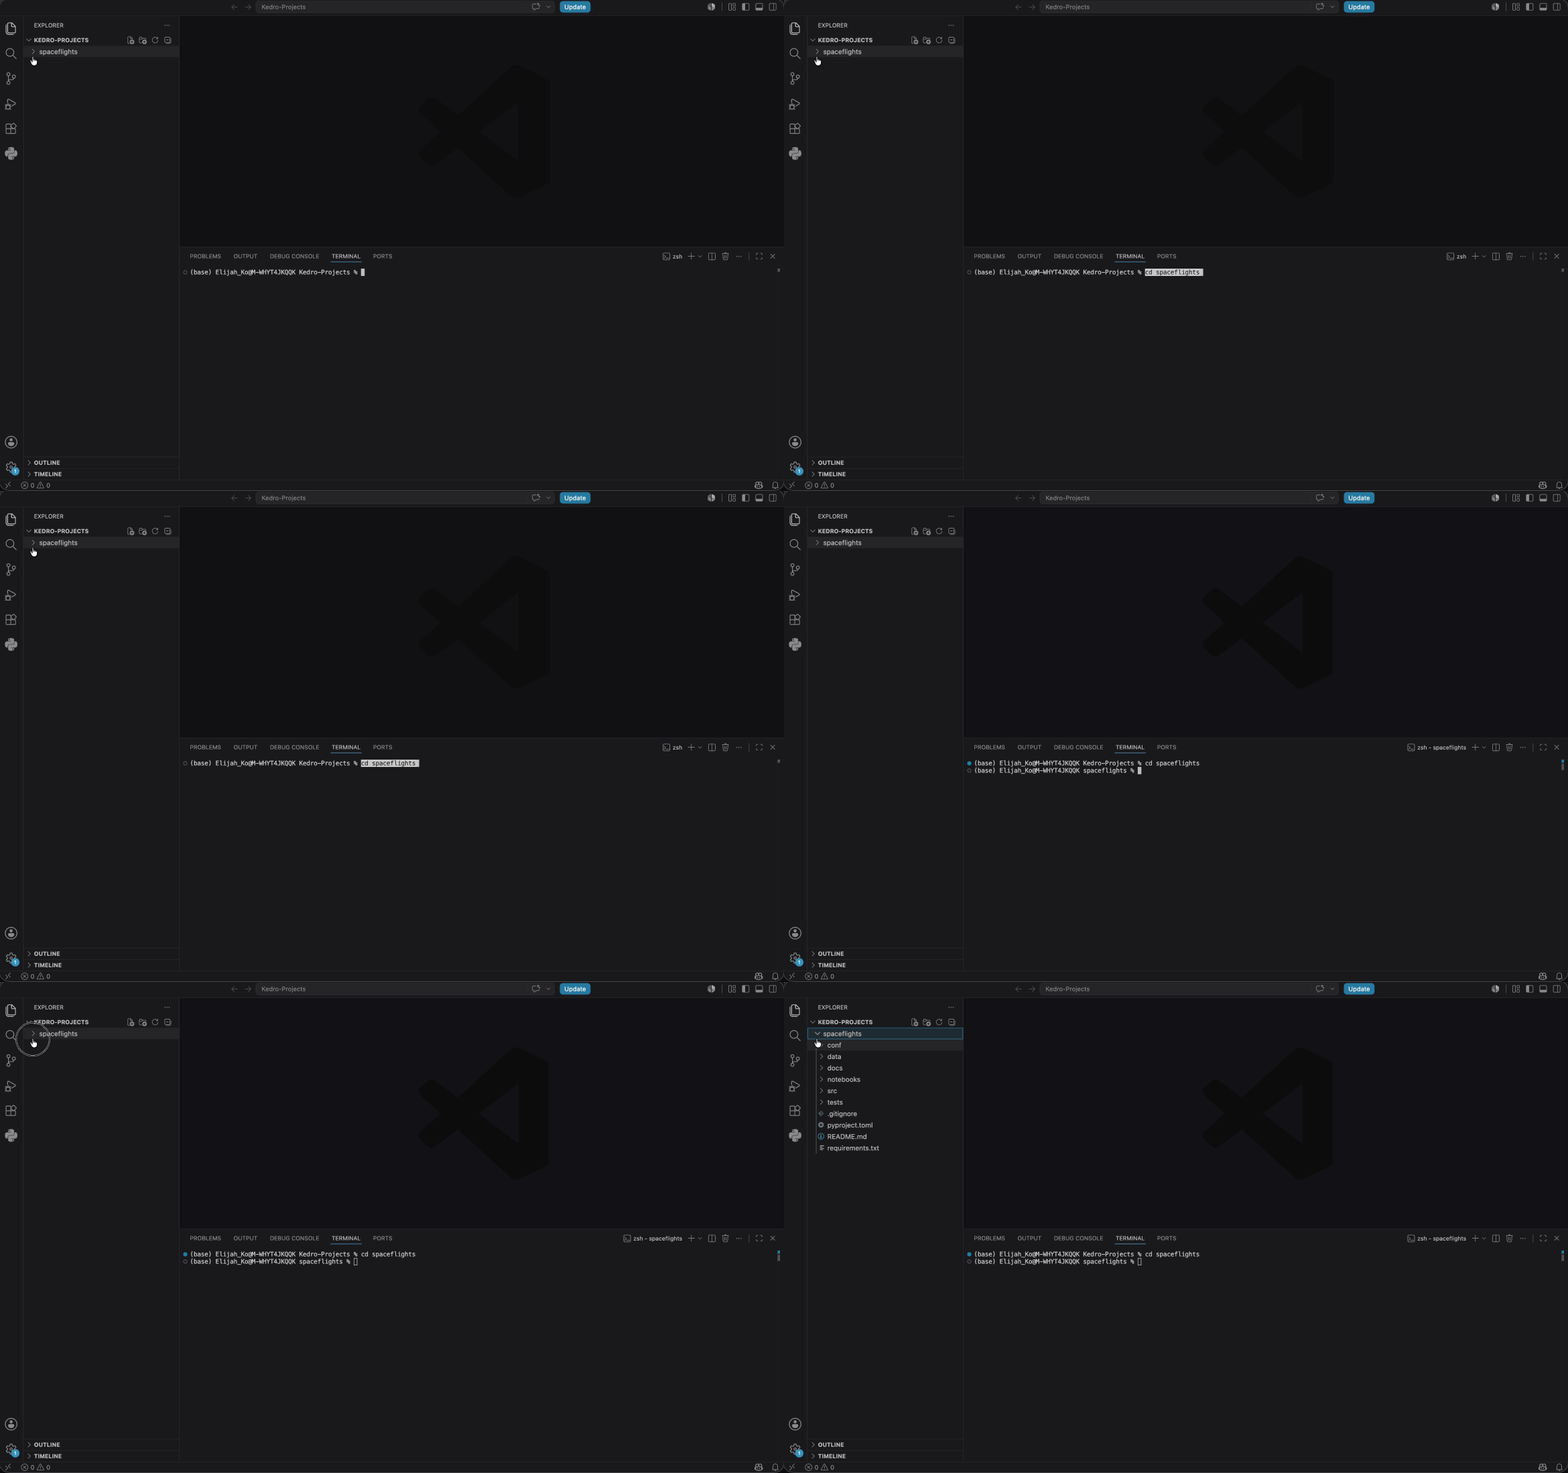
To check Kedro is installed in your project, enter the following command in Terminal:
uv run kedro info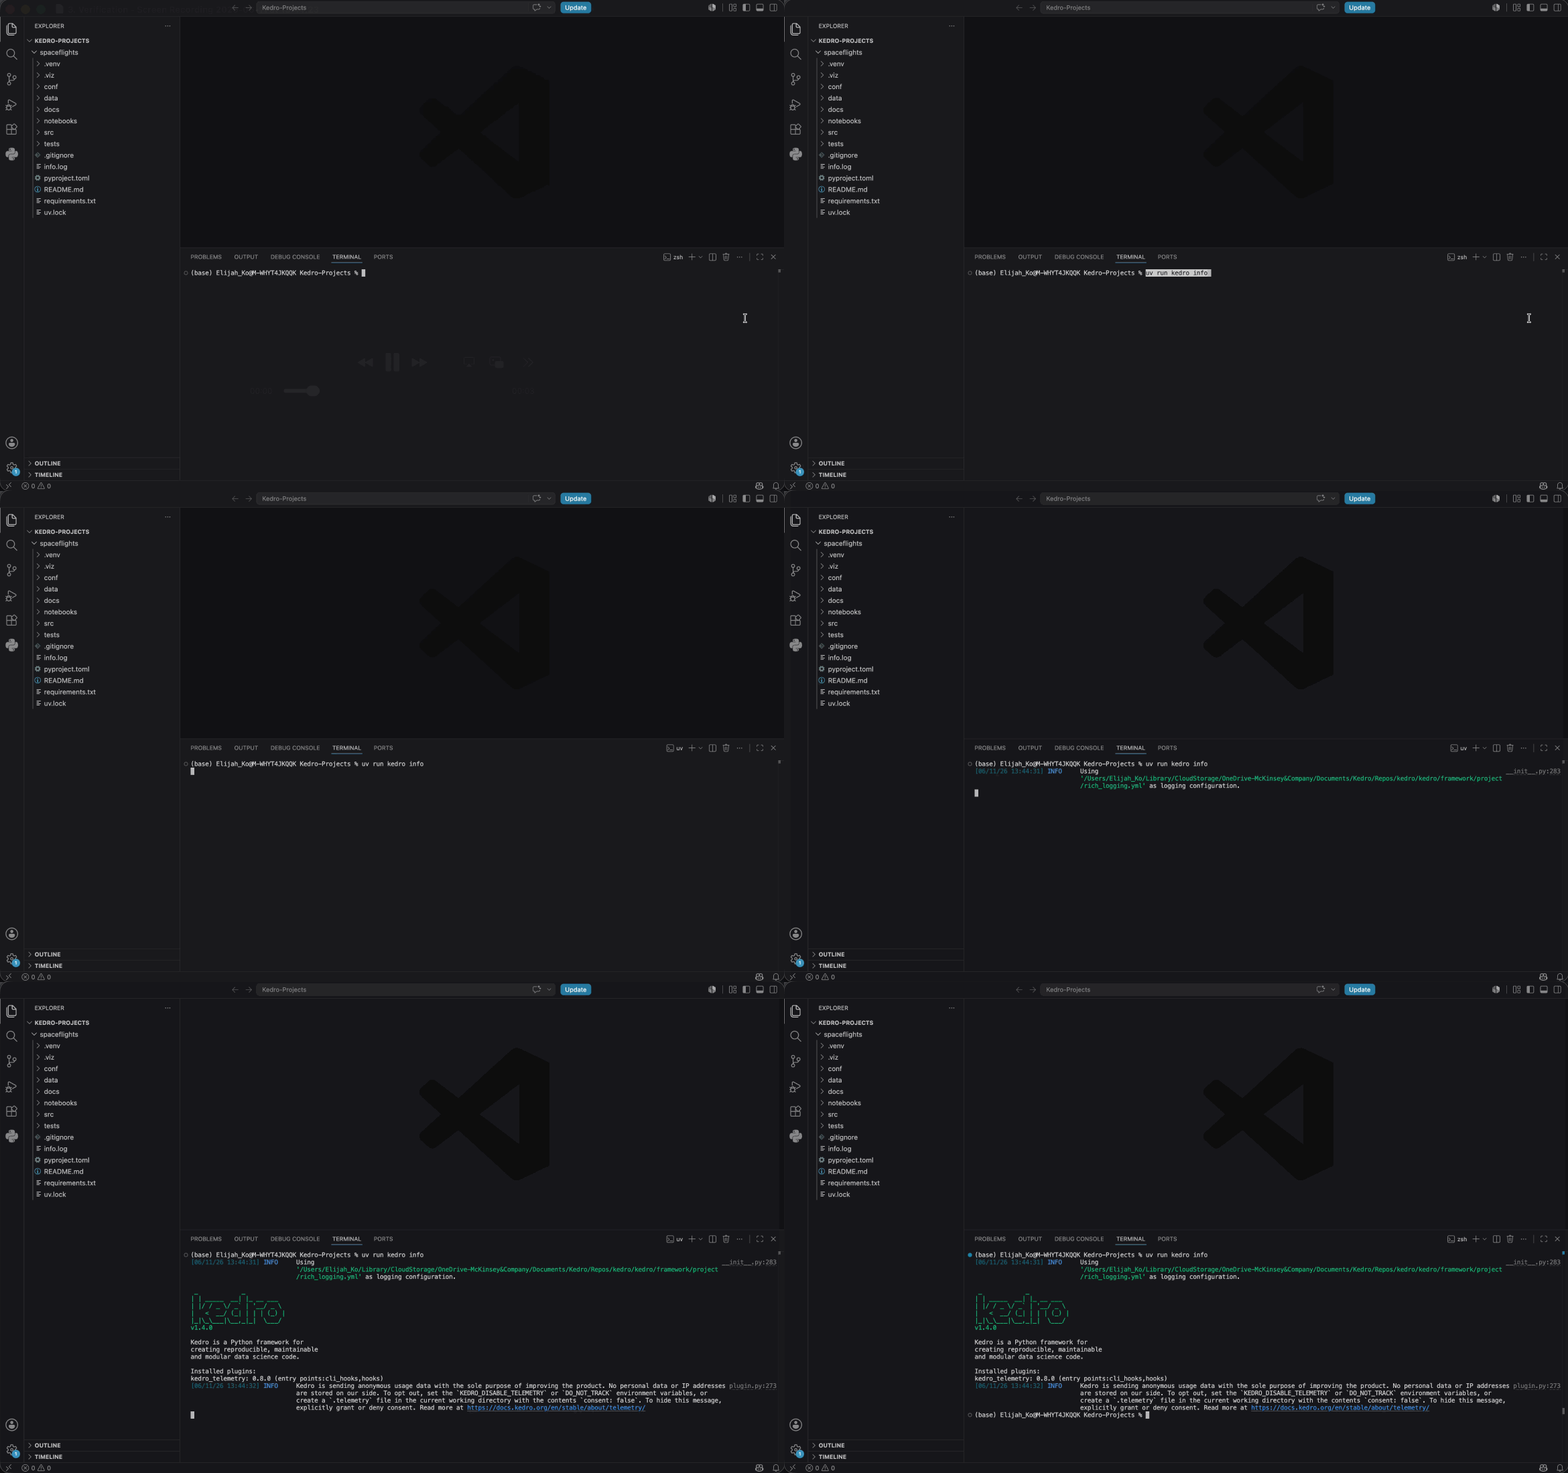
To run the default pipeline of this starter project, enter the following command in Terminal:
uv run kedro run --pipeline __default__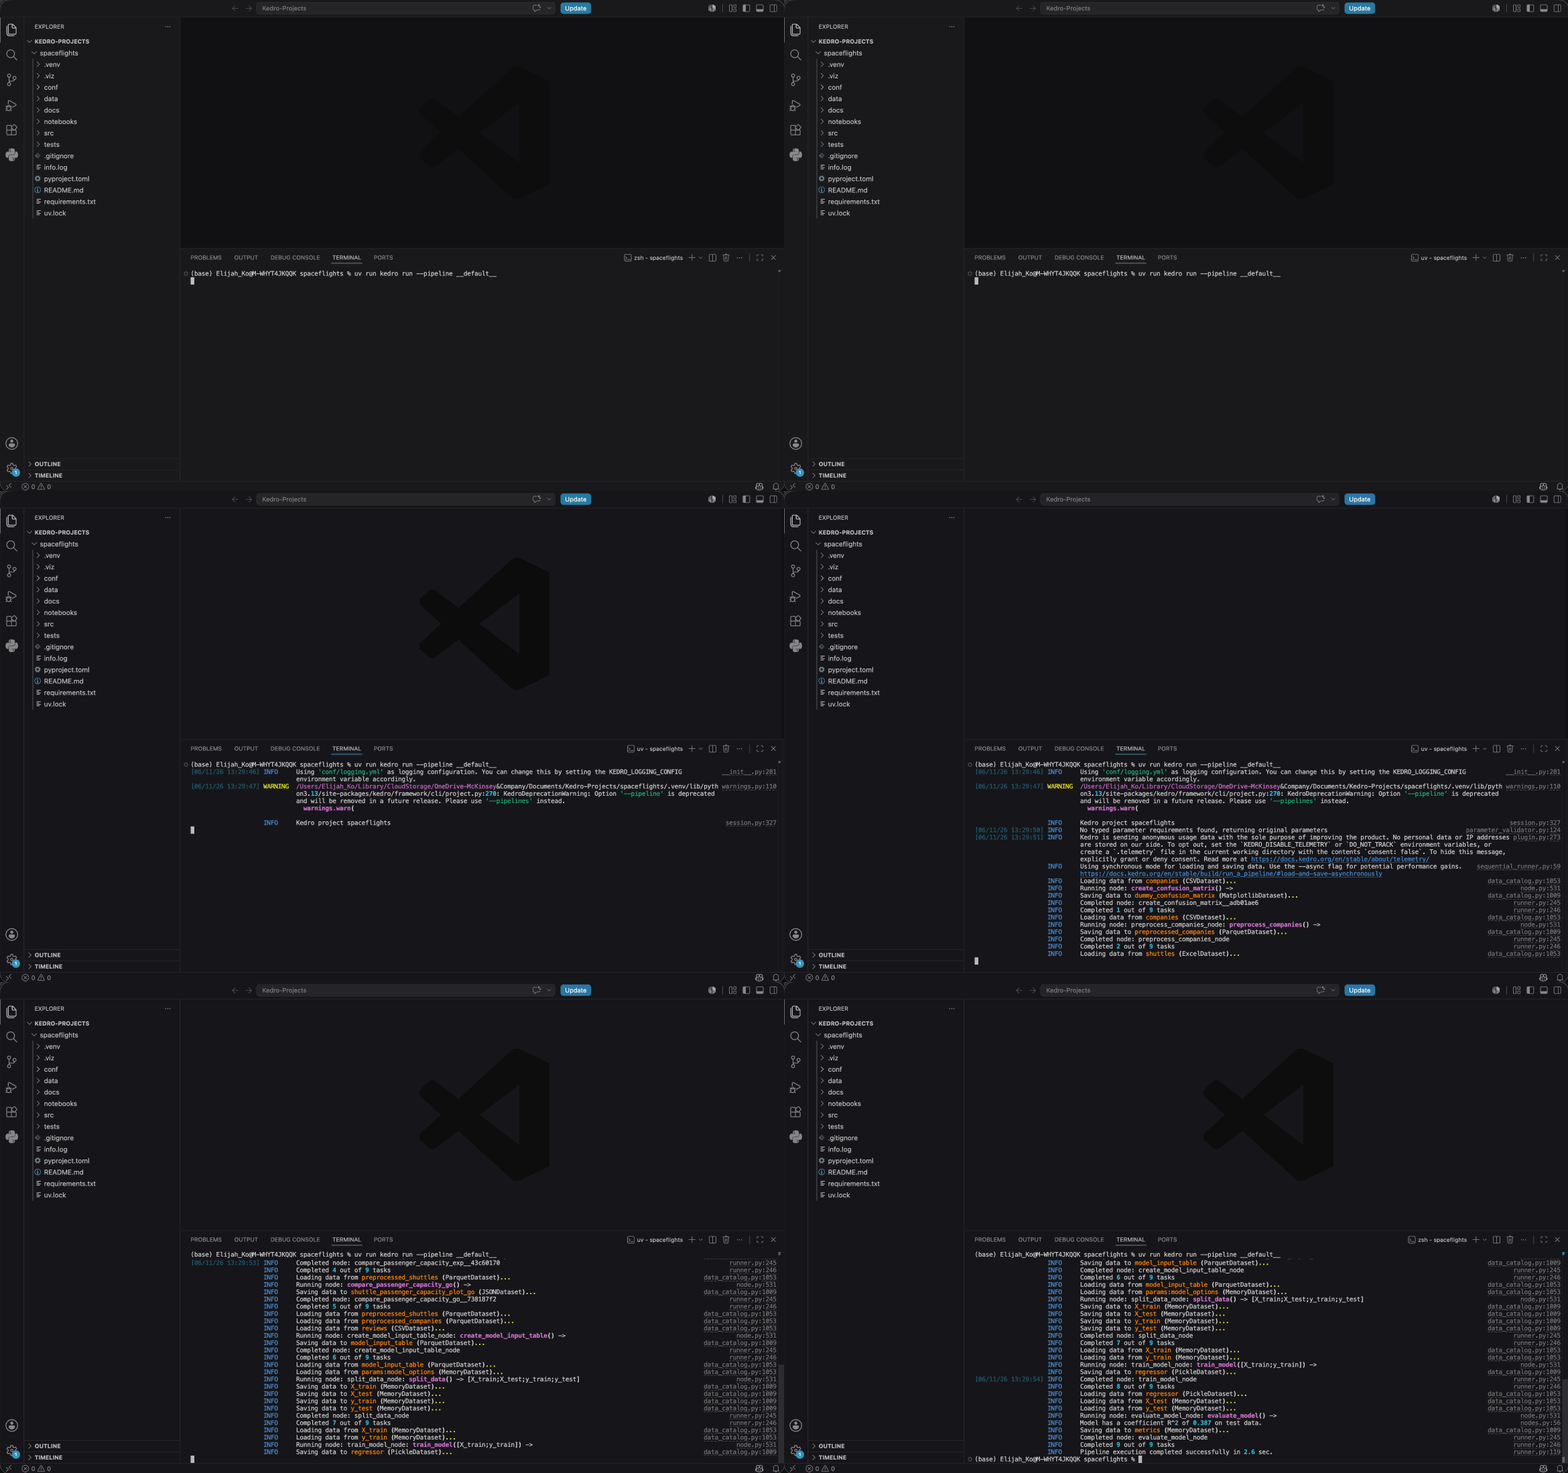
To visualise the default pipeline with Kedro-Viz, our interactive development tool for building data pipelines with Kedro, enter the following command in Terminal. Kedro-Viz will open separately in your browser.
uv run kedro viz run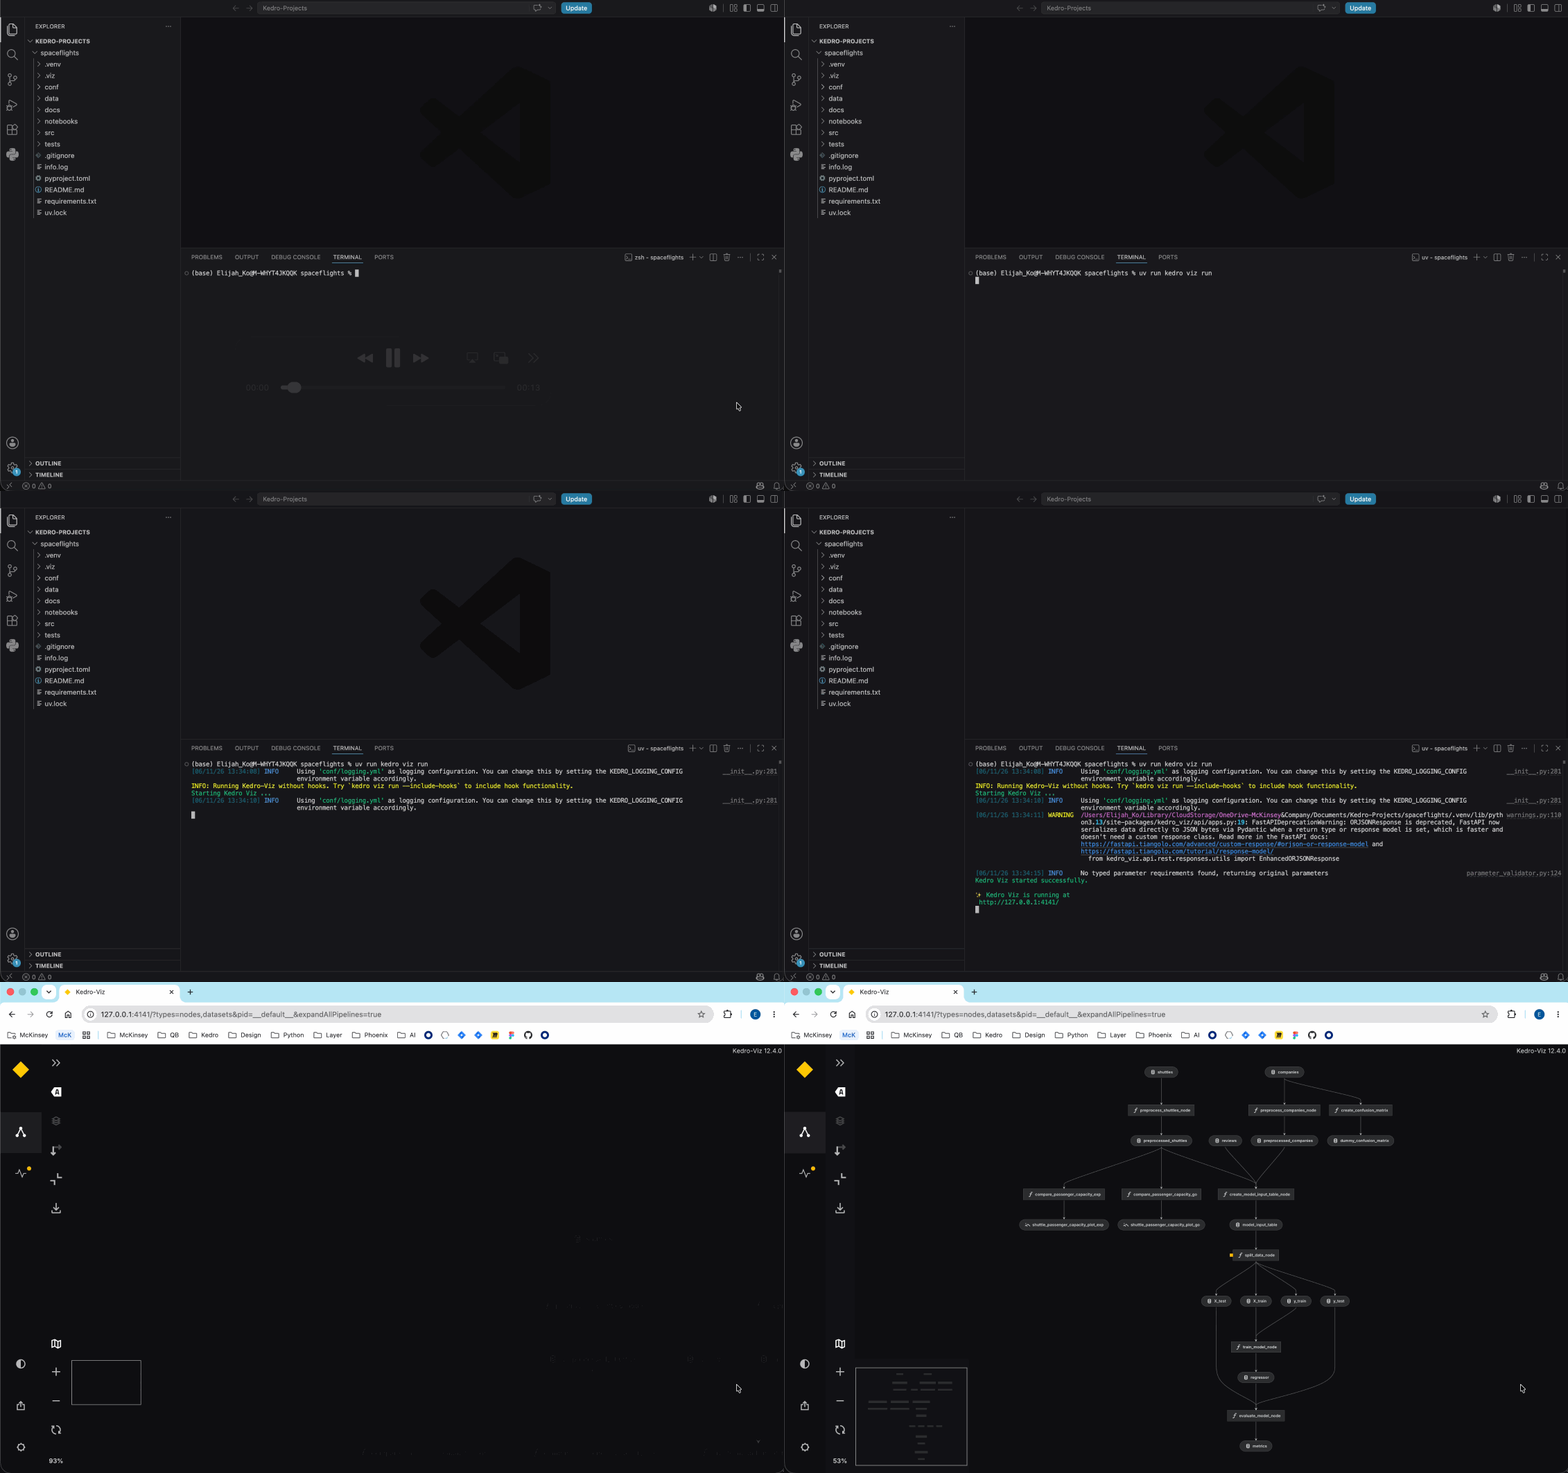
Here we talk about 4 key concepts in Kedro:
- Project template
- Data catalog
- Node
- Pipeline
One layout. Every project.
- An opinionated, standardized layout. Every Kedro project looks the same.
- New team members are on the same page from day one. Walk into any Kedro repos and know where things live.
-
project-dir
├── conf
│       ├── base/                      # Settings to be shared across different installations (e.g. `catalog.yml`, `parameters.yml`)
│       ├── local/                     # Settings specific to each user (e.g. `credentials.yml`)
├── data                               # Data in layered progression from raw to output
│       ├── 01_raw
│       ├── 02_intermediate
│       ├── 03_primary
│       ├── 04_feature
│       ├── 05_model_input
│       ├── 06_models
│       ├── 07_model_output
│       ├── 08_reporting
├── docs
├── notebooks
├── src                                # Contains different pipeline source codes (e.g. nodes.py, pipeline.py)
│       ├── pipeline/
│              ├── nodes.py
│              ├── pipeline.py
├── tests
├── .gitignore
├── pyproject.toml
├── READ.md
├── requirements.txt
Your code never sees a path.
- Data catalog is the central registry of all data sources used in a Kedro project. Instead of hardcoding file paths, data formats, and credentials directly into the Python code, datasets are defined in a single YAML file
catalog.yml, which specifies how your project should load and save data. - Swap CSV for Parquet, local for S3, dev for prod — one YAML edit. No code changes. No environment-specific branches.
-
# conf/base/catalog.yml

shuttles:
  type: pandas.ParquetDataset
  filepath: s3://kedro-demo/02_intermediate/shuttle.parquet
  credentials: dev_s3

model_input_table:
  type: spark.SparkDataset
  filepath: s3a://kedro-demo/05_model_input/features.parquet
  file_format: parquet
  save_args:
    mode: overwrite

trained_model:
  type: pickle.PickleDataset
  filepath: data/06_models/regressor.pkl
  versioned: true
Just pure Python.
- Just a pure Python function, with same input and same output.
- Building blocks of pipelines. Functions you can unit test in isolation.
-
# src/.../nodes.py

import pandas as pd


def preprocess_companies(companies: pd.DataFrame) -> pd.DataFrame:
    """Clean company records."""
    companies["iata_approved"] = _is_true(companies["iata_approved"])
    companies["company_rating"] = _parse_pct(companies["company_rating"])
    return companies


def create_model_input_table(
    shuttles: pd.DataFrame,
    companies: pd.DataFrame,
    reviews: pd.DataFrame,
) -> pd.DataFrame:
    """Join tables to produce model input."""
    return (
        shuttles
        .merge(companies, on="company_id")
        .merge(reviews, on="shuttle_id")
    )
Names match. Kedro wires it up.
- Composes nodes into DAG. Resolves dependencies automatically from dataset names.
-
# src/.../pipeline.py

from kedro.pipeline import Node, Pipeline

from .nodes import create_model_input_table, preprocess_companies, preprocess_shuttles


def create_pipeline(**kwargs) -> Pipeline:
    return Pipeline(
        [
            Node(
                func=preprocess_companies,
                inputs="companies",
                outputs="preprocessed_companies",
                name="preprocess_companies_node",
            ),
            Node(
                func=preprocess_shuttles,
                inputs="shuttles",
                outputs="preprocessed_shuttles",
                name="preprocess_shuttles_node",
            ),
            Node(
                func=create_model_input_table,
                inputs=["preprocessed_shuttles", "preprocessed_companies", "reviews"],
                outputs="model_input_table",
                name="create_model_input_table_node",
            ),
        ]
    )
To continue your Kedro journey, here are the resources and links for your next steps: